Just as important as your written content, photos and images are essential to the performance of your website. Good visuals enhance the user experience of your potential customers, but they must be used in the right way.
A good use of images starts by optimizing them for the web. In other words, you need to reduce the weight of your images (the space they take up in memory) as much as possible, without compromising their quality.
Why? Because the loading speed of your website is greatly affected by the weight of your photos. By using heavy visual files, you risk making your website slower and scaring away your visitors, which will also affect your search engine positioning.
Fortunately, there are simple ways to optimize your images before displaying them on your website. To do so, we recommend that you use GIMP, a free image editing software.
Image optimization with GIMP
- Start by downloading GIMP for free using this link: https://www.gimp.org/downloads/.
- Once the download is complete, open GIMP.
- You will then be able to import the photo you want to optimize into GIMP. To do this, click File, then Open…
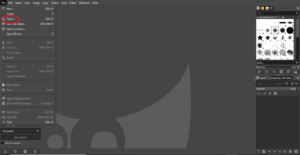
- Choose the image you want to edit, then click Open.
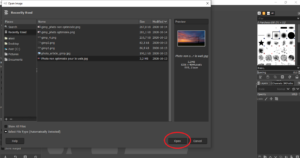
- Now, you need to optimize the image by giving it the right size and weight for your website. To do this, first click on Image, then click on Scale Image…
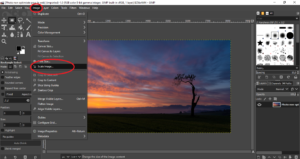
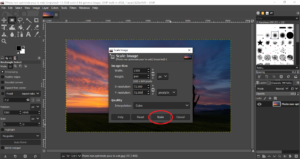
- You will now be able to view and modify the properties of your image. Here, the dimensions of the image we used are 8256 by 4644 pixels, which is much too large for a website. We will reduce its width to 1500 pixels*. Press the circled button on the second screenshot below to keep the proportions of your image.

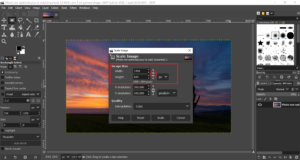 *Note: the dimensions you choose to give to your image depend on the use you are going to make of it. The idea is to reduce its weight as much as possible, by reducing the image to the right size for your website.
 - Another property that you will then be able to modify is the image resolution. Generally, images optimized for the web have a resolution of 72 pixels/inch or 92 pixels/inch.
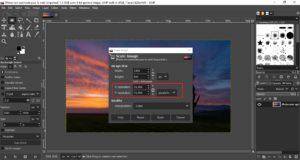
- Once you have completed these changes, press Scale.
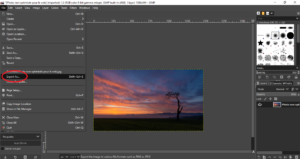
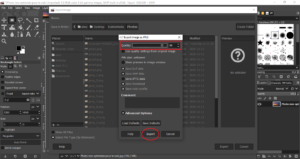
- You will then be able to export your photo and save it on your computer. Click on File, Export As… and choose the location where you want to save your image. Then click on Export.
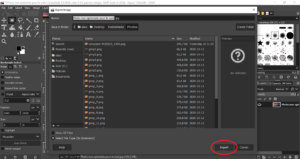
- You will then see a dialog box appear. Choose the quality you want to assign to your image. We advise you to set the quality between 80 and 90 for best performance (higher quality means larger size). Then click Export.
You now find yourself with an image whose weight is considerably reduced, and which will not affect the loading speed of your website !
If you have any further questions about image optimization or GIMP, please let us know in the comments !
